How To Test If Circuit Board Is Working? Every time you buy something new, like a phone or laptop, you’re always eager to test it.
The same energy and effort should be directed to testing your circuit board.
However, unlike testing a phone or PC, a circuit board test requires technical expertise.
Generally, the process involves doing a visual inspection of the circuit board. Moreover, it also involves checking power modules, input/output ports, and communication ports.
And after testing, you can even optimize the circuit board for future tests.
This article focuses on how to test if the circuit board is working.
Table of Contents
- What Is Circuit Board Testing?
- Tools You Require for Circuit Board Testing
- Testing A Circuit Board
- Optimizing Circuit Boards for Future Testing
- Signs That Show You Need Circuit Board Testing
- What to Do With a Faulty PCB?
- FAQ
- Conclusion
What Is Circuit Board Testing?
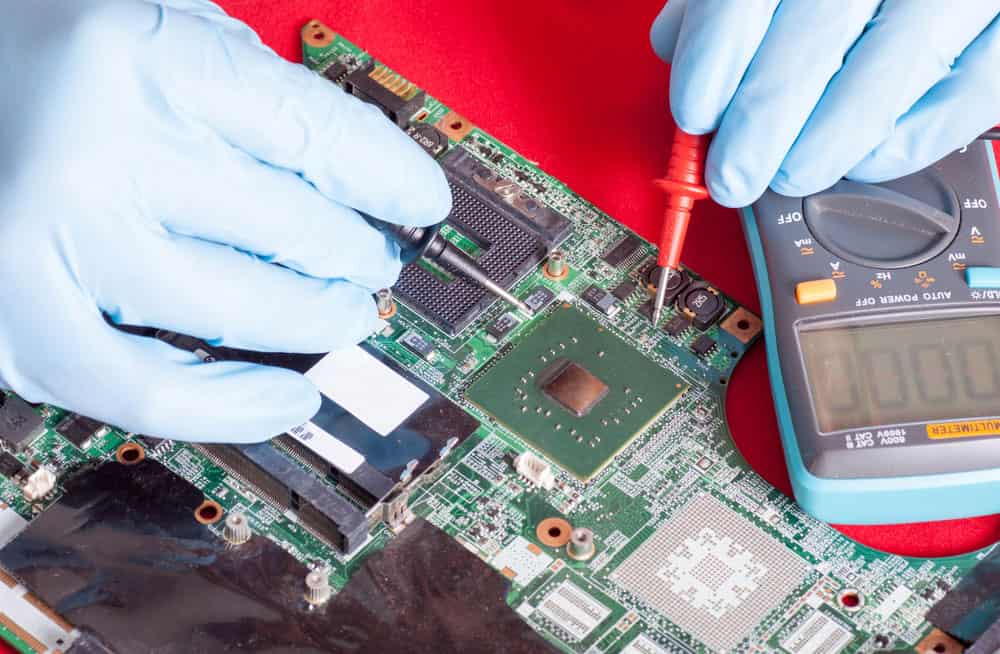
(Circuit board testing during repair)
This test involves checking for opens, resistance, shorts, capacitance, and other quantities to determine whether the board is fabricated correctly.
Generally, you can do this either at the end of the fabrication process or when your circuit board misbehaves.
You can achieve circuit board testing using simple tools like electrical probes, test lights, or a multimeter.
Tools You Require for Circuit Board Testing
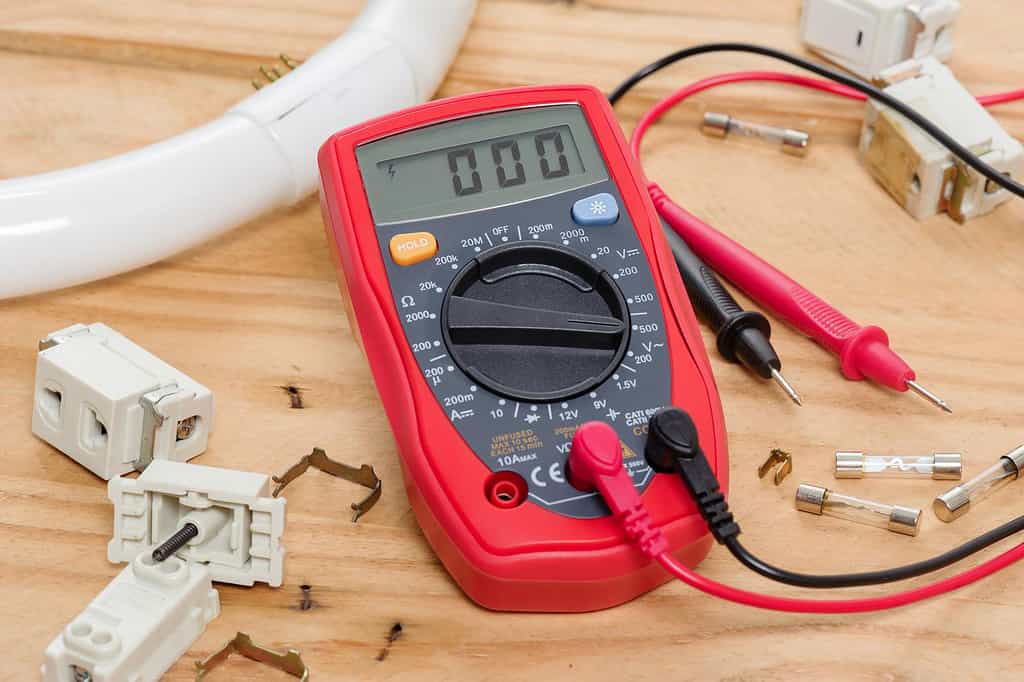
(A digital multimeter)
You should thoroughly prepare for circuit board testing by acquiring the right tools. Check out some important tools you need:
- Soldering gun
- Analog/digital multimeter
- Magnifying glass
- Desoldering station
Generally, you’ll use these tools for solving problems like broken traces, faulty components, and short circuits.
Testing A Circuit Board
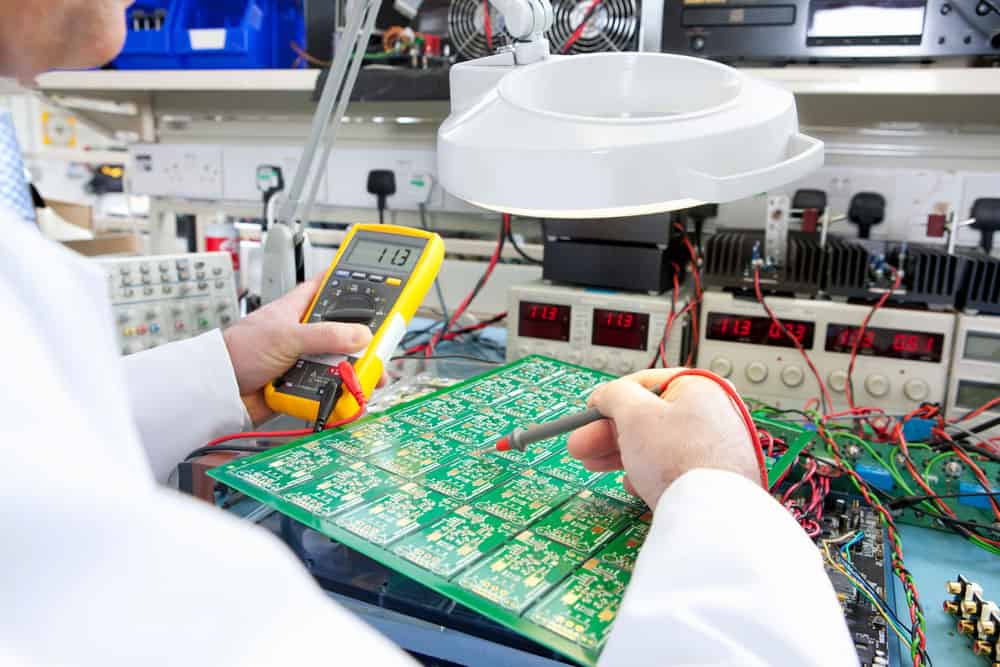
(An engineer testing a circuit board)
Visual Inspection
Sometimes, you can identify broken or damaged areas by observing with your eyes.
Electrical surges damage most circuit components, and you can easily identify signs on your PCB.
Therefore, check out for burnt spots, especially on the connectivity ports, power supply modules, and input/output modules.
Surprisingly, you can even trace a damaged circuit board by its acrid scent.
Checking The Power Module
If the circuit board is fine at this point, power up your circuit board. Afterward, measure the power rail’s voltage using a multimeter.
Ensure the regulator’s input and output shows the expected value. However, if the voltage reads 0V, we recommend replacing the fuse.
Sometimes even after replacing the fuse, it’ll still fail immediately.
This means other components within the circuit are shorted. In this case, the shorted component will always emit excessive heat.
Therefore, you can easily identify the component by checking for the component that is hotter than usual.
Even after removing and replacing this component, there is still a high chance your circuit board voltage value won’t read as expected.
Therefore, check the schematic and remove another component near the PCB edge.
And if you don’t find a hot component, you can check for broken traces. A multimeter could help you narrow down to where the problem is.
Checking Input/Output Ports
The input/output ports are common failure points people ignore. Surprisingly, their failure might not result in a system shutdown.
However, one way or the other, they’ll cause problems in circuit operation.
Therefore, always ensure the input/output ports are functioning properly.
Checking Communication Ports
A circuit port will always have a communication port like RS485 or ethernet.
Therefore, such ports might fail to function properly. When such happens, look for cracked or burned communication components ICs.
Moreover, check the protective component like Zener diodes.
Optimizing Circuit Boards for Future Testing
By now, you should know that circuit testing is challenging. Therefore, you should optimize it for future troubleshooting.
To begin with, create testing pads for critical signals and voltages.
This way, you won’t have to short any neighboring trace with your multimeter probes.
Moreover, you can employ LEDs as visual indicators for input/output, communication, and power. This way, you can determine problematic areas without much probing.
While doing this, ensure you employ the right circuit board design and analysis software. Finally, ensure you position test points in strategic areas.
Signs That Show You Need Circuit Board Testing

(A burnt circuit board)
You shouldn’t wake up and do circuit board testing for fun. Certain circuit board failures you should identify should guide how and when to do the tests.
Check out the causes of circuit board failures below:
Burnt Components
We guarantee that your circuit board component will burn if exposed to high temperatures.
Moreover, your components have a higher chance of burning when the surrounding area becomes insufficient.
Surprisingly, a component’s size and shape also determine its heat tolerance.
Generally, when your components get burned and stop functioning normally, you should make a replacement. Otherwise, the problem could extend to other components.
Improperly Manufactured Components
Many problems arise, especially with improperly placed components and power supply issues. Also, many people complain of chemical leaks, barrier breakage, and soldering challenges.
Therefore, you should have certain requirements in mind to reduce such errors. Check out for loose components, bad solder, and poor connectivity, and conduct a circuit test.
However, to minimize circuit board failure, employ an automated manufacturing process.
Environment-Related Factors
Your environment should determine whether or not you do a circuit board test. Surprisingly, assembling your components in a humid room may affect the component reaction.
Therefore, you must regulate environmental conditions to keep your PCB in good condition.
Also, understand that moisture, heat, dust, accidental falls, and overloads might be responsible for a circuit board failure.
Therefore, if you ever suspect that any of the above situations happened, immediately do a circuit board test to correct the issue.
Age
We understand that no matter how good something is made, it’ll never last forever. Therefore, expect your circuit board to fail or become vulnerable over time.
The good news is that such vulnerabilities and failures can always be corrected.
Failures due to age are inevitable, but replace faulty components with economical and sustainable options when they happen. Generally, as your circuit board age, ensure you do tests regularly.
What to Do With a Faulty PCB?
If a circuit board becomes faulty for one reason, it might damage all components. Therefore, you need to move immediately and repair the damaged board.
In this case, you’ll have to replace a few damaged components.
However, as per Environmental Protection Agency requirements, you can also choose to replace the whole circuit board to limit hazards from the damaged parts.
Therefore, you can consult an expert to help you determine whether repair or replacement is the best option.
FAQ
Is circuit board testing important?
Yes!
Testing is important since it helps you identify possible faults or errors that might lead to malfunctioning in your circuit board.
Also, in the case of a damaged board, it becomes easier to identify where the problem for immediate repair.
Is circuit board testing simple?
Generally, circuit testing is a complex process only professionals can do to the required precision.
But still, it’s something you can learn to perfection. Optimizing the circuit board for future troubleshooting can simplify your testing.
What can cause your circuit board to fail?
Your circuit board might fail due to moisture, dust, and heat exposure. Moreover, power overloads and accidental impacts cause serious failures.
Finally, you might experience premature circuit failure at the assembly state, thanks to electrostatic discharge.
How can you tell if a circuit board is bad?
The most common signs of a damaged circuit board are cracked wires, burn marks, scratches, crushed components, and misplaced solder.
Moreover, a damaged circuit board will cease to function normally. When this happens, you must repair or replace the circuit board.
Conclusion
As we’ve highlighted, circuit board testing involves checking for opens, resistance, shorts, capacitance, and other quantities to determine whether the board is fabricated correctly.
Consequently, you can identify faults and errors and, if possible, replace or repair the circuit board.
During testing, there are obvious things to help you identify a damaged circuit board, including burn marks, crushed components, and cracked wires.
Consult a professional whenever you need to do a circuit test but lack the knowledge.