Have you just finished designing a new system but don’t know how to setup WiFi on raspberry pi? If your answer is yes, you just landed in the right place.
Surprisingly, modern Raspberry Pi devices have an onboard 802.11n wireless LAN adapter that allows direct internet access.
However, you can’t access the wireless connection without properly configuring Raspberry Pi.
Fortunately, the configuration process is quite straightforward. But how do you go about it?
This article gives you the necessary steps to configure raspberry pi.
Table of Contents
- Headless Configuration
- Configuring on Raspberry Pi OS Desktop
- Setting up Wi-Fi on Raspberry Pi OS Lite
- Raspberry Pi Not Connecting To The Internet Solutions
- FAQ
- Conclusion
Headless Configuration
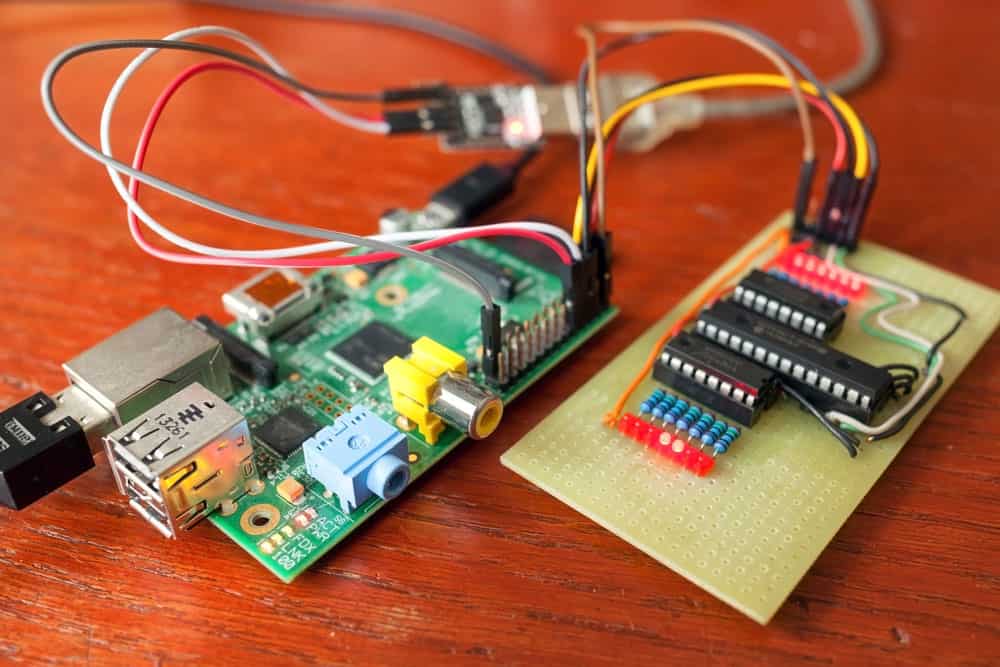
(Working on a Raspberry Pi)
We recommend this approach if raspberry pi doesn’t have a screen. Check out the steps for each approach below:
Using a Raspberry Pi Imager
Follow the below steps to setup WiFi using a Raspberry Pi image:
- The first step is to download and install the imager. You can access it from the Raspberry Pi website. Surprisingly, it works on Linux and Windows computers.
- Proceed to use the advanced option by selecting the OS of your preference. This is also the time to choose your storage type from the available options. Moreover, you can set and save the SSID, country, and password. Finally, enable SSH connection.
- The last step involves initiating the installation, after which Raspberry Pi connects to WiFi automatically.
Manual Configuration
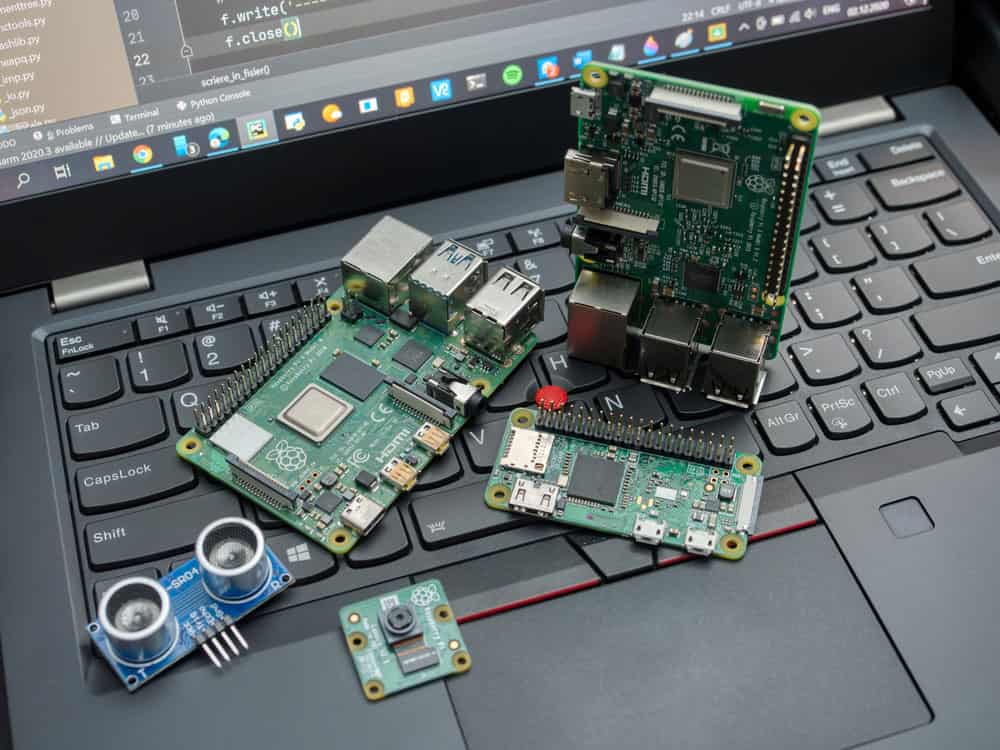
(A Raspberry Pi over a laptop)
If you have flushed the SD card but want to set up WiFi on Raspberry Pi, count on this option. Surprisingly, you’ll have to create a file and copy it onto an SD card later.
Check out the steps below:
- Open any editor like Notepad on your PC.
- Copy the following lines of code and paste them into your editor.
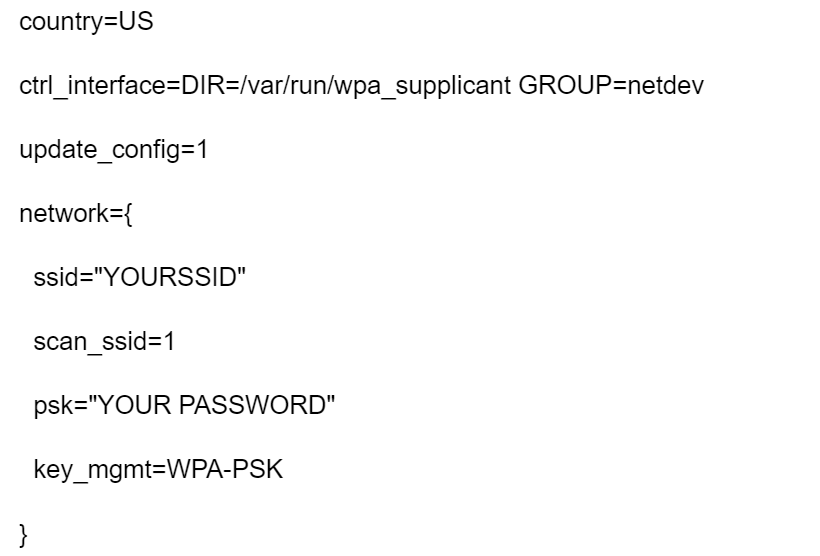
- In the code, change the country section to your country of choice. Also, replace the password and SSID variables.
- Finally, save your file in your preferred location. Insert an SD card into the PC to copy the file to your boot partition.
It’d help to understand that this method works with both the lite and desktop versions.
Allow SSH Automatically
Finally, you can allow SSH automatically on Raspberry Pi. To achieve this, develop an empty “ssh” file into the boot partition.
This file will inform Raspberry Pi OS to initiate SSH automatically.
Configuring on Raspberry Pi OS Desktop
(A Raspberry Pi and laptop)
If you boot your device for the first time, expect a “Welcome to Raspberry Pi” message. Surprisingly, this message calls for setting up your system with a desktop.
Therefore, select your network SSID and set your password and country. After a short time, Raspberry Pi gets connected to the network.
Task Bar
What if you skip the WiFi configuration or miss the welcome wizard? You manage everything from the taskbar in such a case.
Check out the steps below:
- You can access the main panel at the top. It has shortcuts, a menu, and a clock.
- Check the network symbol near the clock and click it.
- This will display all the available networks. Therefore, select a network to input your password of choice.
Setting up Wi-Fi on Raspberry Pi OS Lite
The below steps will help you set up WiFi:
Using raspi-config
All Raspberry Pi comes with a raspi-config option for configuring your network. Check out the following for a successful setup:
- Open your terminal to run this command: sudo raspi-config
- A new screen will open with a new menu. Therefore, navigate to the Network section and then WiFi.
- Next, type your password and SSID. Finally, you can exit the terminal. Surprisingly, by this time, Raspberry Pi is connected to your network, and you can use it.
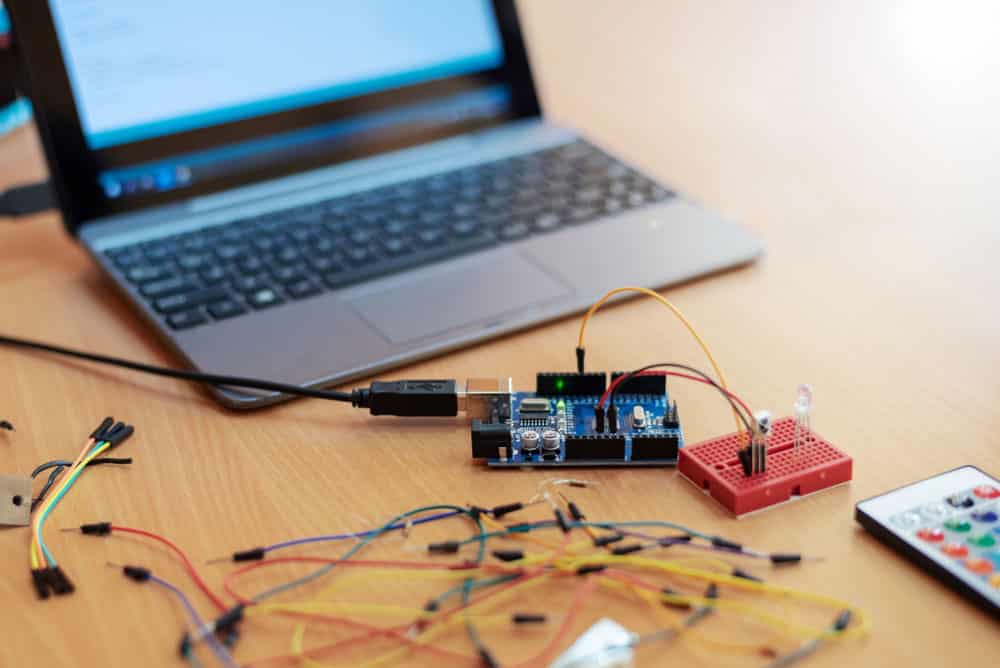
Manual Configuration
You can also set up WiFi on your device manually. Surprisingly, this approach is complex.
Check out the steps below:
- First, edit the wpa_supplicant.conf file with your Nano editor. Therefore, you can view the basic configuration.
- Next, set up your static IP using the following command: sudo nano /etc/dhcpcd.conf
- Identify the text “Example static IP configuration” to change the sections you see fit. This might include adjusting or changing the IP address, DNS, and routers. Finally, save the changes.
Raspberry Pi Not Connecting To The Internet Solutions
Even after setting up WiFi on Raspberry Pi, it might experience problems connecting to the internet. In most cases, the problems originate from issues resulting from the SSID.
Additionally, it might result from corrupt ethernet cables, hardware issues, improper network configuration, or network inconsistency.
But how do you fix such problems? Below are solutions:
Restart Your Router
Inconsistent network connections might prevent you from identifying Raspberry Pi on your network. Therefore, you must reset your router to remove the cache and fix the problem.
- First, unplug your router from the power supply and hold your router’s power button until the router goes off. Alternatively, you can disconnect the ethernet cable linking to the modem.
- After about 5 seconds, plug back the power cable and press the power button to turn on the router.
Check Ethernet Cable and Port
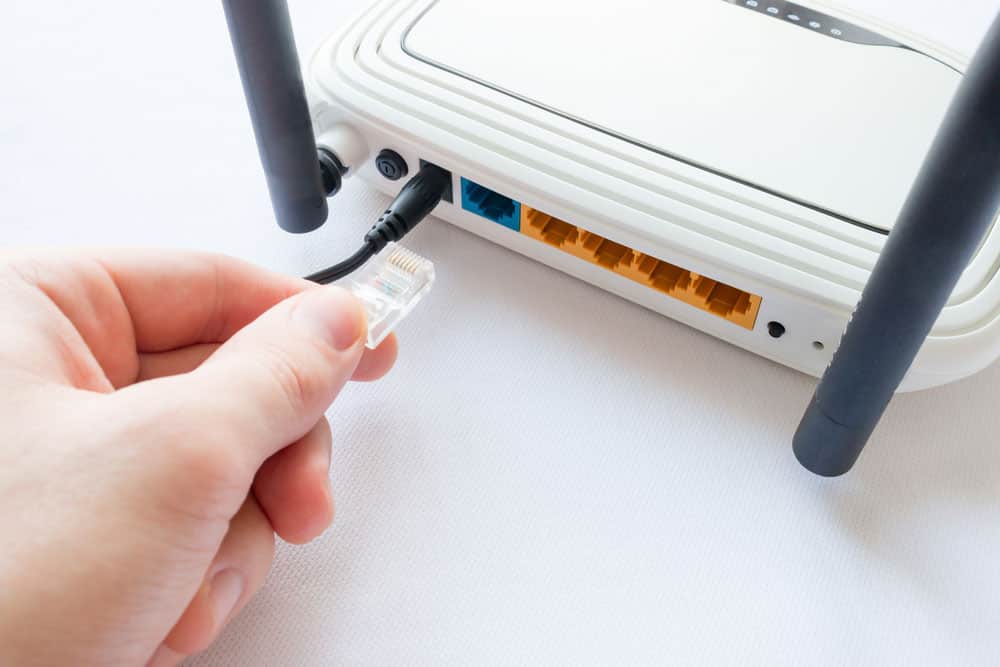
(Plugging a cable in a router)
Sometimes, the ethernet cable might be damaged or unplugged without your knowledge. Try replacing your ethernet cable or changing the port. If the problem persists, update the router firmware.
Check SSID Issues
Open the router’s wireless setting and proceed to the SSID/Wireless network Name option. Ensure your name doesn’t have invalid characters or underscores. Remove such issues and reconnect Raspberry Pi back to the network.
Reinstall Raspbian
If you check online, people complain that their Raspberry Pi stopped connecting to WiFi thanks to a corrupted Raspbain image. Surprisingly, the solution is reinstalling Raspbain.
- To begin with, download and install an image. However, ensure the version you download is the latest.
- Next, connect an SD card to Raspberry Pi. Afterward, run the imager and choose an appropriate OS from the menu.
- Choose the SD card and select “Write” to install the OS.
- Finally, restart Raspberry Pi to check whether you have fixed the issue.
FAQ
What are the benefits and risks of using Raspberry pi?
Why would anyone use Raspberry Pi over other microcontrollers? Well, It supports WiFi networks and Linux systems. Surprisingly, its system presents a high processing power you’ll never find in some systems.
Furthermore, it has multiple interfaces, including Bluetooth and HDMI.
However, the board might go off intermittently, thus affecting your project. Finally, the device might fail to connect to your WiFi network.
How To Setup WiFi on Raspberry Pi: Can I use Raspberry pi without WiFi?
Yes! You can still use Raspberry Pi in the absence of WiFi. Surprisingly, Raspberry Pi supports connections via other options like USB and ethernet.
Conclusion
We have highlighted at least three major steps to give you a variety of options to choose from. Therefore, we guarantee you’ll find setting up Raspberry Pi WiFi easy.
And if, after setting up the WiFi network, Raspberry Pi doesn’t connect, you can explore the solutions we highlighted above. Surprisingly, you can explore alternative ways to connect to Raspberry Pi other than through WiFi.